Organizing A Closet Is Easy: When We Follow Simple Steps

By Ryan R. Ennis
A FACT, PERHAPS, UNKNOWN ABOUT CLOSETS IS THAT THEY WERE INVENTED DURING ROMAN TIMES,
and served as mobile cabinets where soldiers would stow their military gear during their journeys across the continents. The Romans called them “armoriums,” from which the present-day word “armoire” comes.
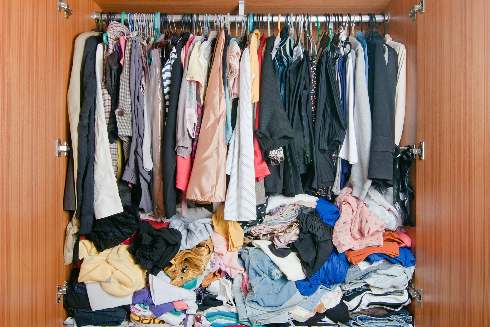 A fact commonly known about closets today is that, while they are intended to serve as convenient storage areas in our homes, they often turn into spaces jammed with hordes of clothing and unnecessary clutter. This lack of organization can especially try our patience when we reach into our wardrobes and struggle to find a particular shirt or pair of pants among the crammed attire.
Weary of the mess, we vow to make it a top priority to clean and rearrange our wardrobes in the near future. However, the task repeatedly gets postponed because, with our hectic lives, it seems too monumental to tackle. Yet, it can be done simply — in just five to six steps — if we commit to diving in and working methodically. Once the task is finished, the results will be well worth the time and effort.
THE FIRST STEP IS TO FETCH THE MATERIALS and tools for the project. Extra boxes or bins help with collecting clothing items as they are taken out of the closet. Tape measures might be needed for measuring any organizers (such as shelves or baskets) that will be fitted or installed inside the storage spaces after cleaning them.
A full-length mirror should be nearby for viewing our full images as we model the various items to determine which will be the “keepers.” Lastly, some additional boxes come in handy for holding miscellaneous stuff like receipts, money, combs, or anything else that we might uncover in clothing pockets and other places.
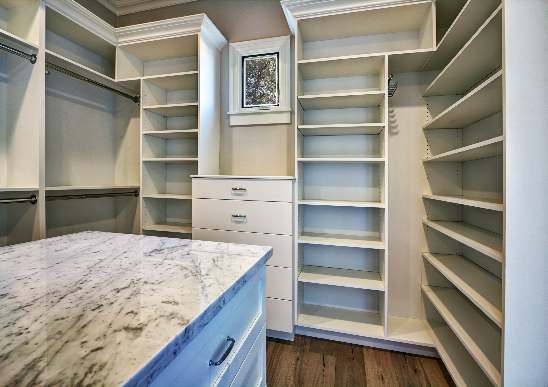 THE SECOND IS TO EMPTY THE CLOSET. “Starting with a blank canvas is almost always easier,” recommends Chris Dempsey, owner of Easy Glider Storage Solutions in Ferndale. Once the closet has everything removed from it, including hangers and baskets or bins, a better picture can form of how it should look as we put things back. “When designing a storage layout,” continues Dempsey, “the large items are accounted for first, and the smaller items later. This streamlines the process and makes designing much more intuitive.”
The third is to clean the closet thoroughly — every nook and cranny. A slightly damp dusting cloth or rag works better for cleaning than paper towel, which often shreds or rips apart on any rough or imperfect surfaces. Many housekeepers advise adhering to the procedure of cleaning from top to bottom. That means the top corners, the upper shelves, and the hanging rod should be dusted or wiped before any part of the wardrobe at eye level or below is touch- ed. After the shelves, walls, and baseboards have been cleaned, the bottom of the closet should be vacuumed or mopped depending on the kind of flooring it has.
THE FOURTH IS TAKE INVENTORY OF OUR STOCK, including the accessories. At this stage, the sorting begins for the three main piles mentally labeled as “keepers,” “possible donations,” or “not sure yet.” To assist with the decision-making, we can see how the older attire looks on us in front of the mirror.
 Any item that has rips, tears, or holes beyond repair should make its way into the trash. A certain number of duplicate items — for example, 20 out of our stock of 30 brown leather belts—should be relocated to a storage box or other storage area in the home.
As we revisit the pile noted as “not sure yet,” Marie Kondo (the developer of the
KonMari Method) suggests asking ourselves three basic questions about each item: Whether it’s loved, worn much, or crucial to our sense of comfort and fashion. The answers to these questions will determine where these items ultimately end up.
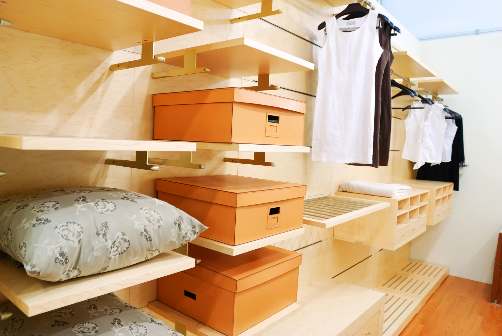
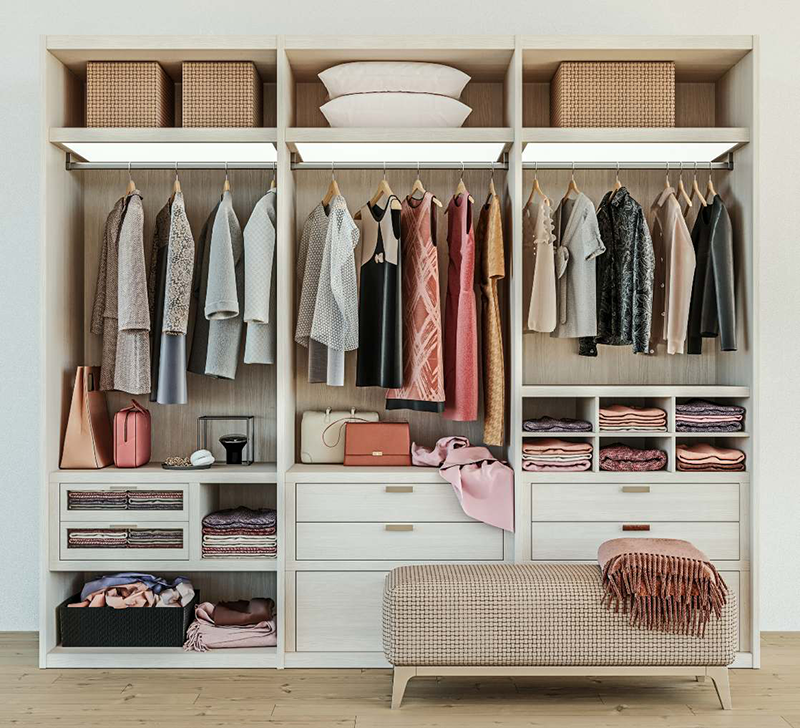
THE FIFTH IS TO RETURN ALL THE ITEMS designated as “keepers” to the closet in a way that arranges or collects similar articles of clothing together. To illustrate — all jeans and pants will be hung up nicely together; shirts, blouses, and dresses will be grouped and hung sequentially according to sleeve length and color; and sweaters or pullovers will be grouped by colors, neatly folded, and stacked on the shelves.
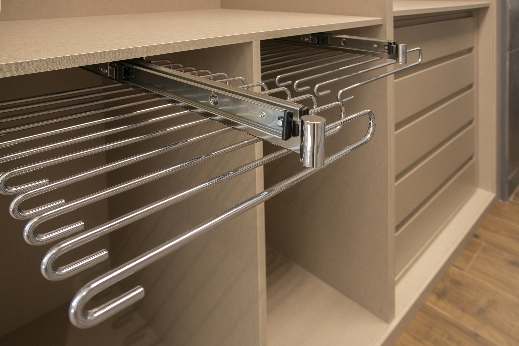
 It is also during this phase when we might need to buy and install more shelving, bins, baskets, hooks, or organizers with gliding drawers to maintain objects like belts, shoes, jewelry, and purses. Before closing the closet doors, we should conduct a final check of its appearance. Anything that looks out of place should be moved around until it fits in well with the rest of our belongings.
The sixth, as often advised by experts on organization, is to get rid of stuff that isn’t used or useful, typically by dropping them off at a local donation box or facility. For those of us who aren’t quite ready for this step, Dempsey recommends “storing rarely used items in the basement and the garage in other cabinets or containers.” Over time, we may feel differently about the items that we once thought of as “not sure yet,” and finally consider parting with them. If we want to earn some extra cash, there’s the option of selling the articles in good condition online or at a garage sale.
 DESPITE THE SATISFACTION THAT COMES WITH WELL-ORGANIZED CLOSETS, it might not take long for us to fall back into old, bad habits. After long days on the job, we find it tempting to stop putting things away neatly and to start tossing our stuff again into the closets before going to bed.
If we recognize that our closets are getting out of control, we can improve the situation by scheduling a morning or day each week, each month, or perhaps each season for straightening out our belongings. This routine will, hopefully, keep our closets from creating more problems in life when we need to locate a particular possession in a hurry.

